
Perceptual Evaluation Metrics
Published:
(work in progress…)
The evaluation of 3D rendering content under immersive experiences, i.e., extended reality (XR), is challenging and primarily user study-dependent. However, the subjective assessment is time-consuming, expensive, and user-biased. On the contrary, the objective evaluation metrics are fast, mathematically accurate, and more reliable. Nonetheless, the conventional pixel-based approaches, e.g., MSE, PSNR, and SSIM, fail to assess the true human evaluation process. Conversely, the perceptual evaluation metrics under the Visual Difference Predictor (VDP) genre are the most accurate evaluation strategy.
Foveation-Considered Metrics
VDP (HDR-VDP) genere metrics also referred to the White Box Approaches.
However, the current popular VDP models have several limitations. For instance, HDR-VDP-2 is limited to achromatic and static; FovVideoVDP considers spatio-temporal with foveation; however limited to the achromatic; and ColorVideoVDP considers spatio-temporal, chromatic, XR-ready, differentiable; nonetheless, still lack explicit binocular 3D modeling and comfort prediction.
FovVideoVDP
The FovVideoVDP is a video/ image difference metric that models the spatial, temporal, and peripheral aspects of perception (See project page, git repo). It is a full reference metrics and to the best of my knowledge, this is the only metric that considers eccentricity and foveated aspect of vision. Unlike the other metrics, e.g., PSNR, SSIM, FovVideoVDP requires the physical display data (e.g., standard_4k, standard_fhd, viewing conditions (size, resolution, peak luminance, viewing distance, etc.). It works with both SDR and HDR content.
The FovVideoVDP reports a quality score in JOD (Just-Objectionable-Difference) units: 10 = no visible difference, lower is worse (can be < 0 for very strong/unrelated differences).
Use
Open terminal (e.g., Windows terminal or, Visual Studio Code or anyother) and install using pip install torch pyexr pyfvvdp or simply pip install pyfvvdp should also work fine. Afterwards, you can run:
fvvdp --ref .\sponza_uni_0_32.png --test .\sponza_fov_0.png --display standard_4k --foveated --heatmap supra-threshold --output-dir out/
fvvdp --ref .\sponza_uni_0_32.png --test .\sponza_uni_0.png --display standard_4k --heatmap supra-threshold --output-dir out/
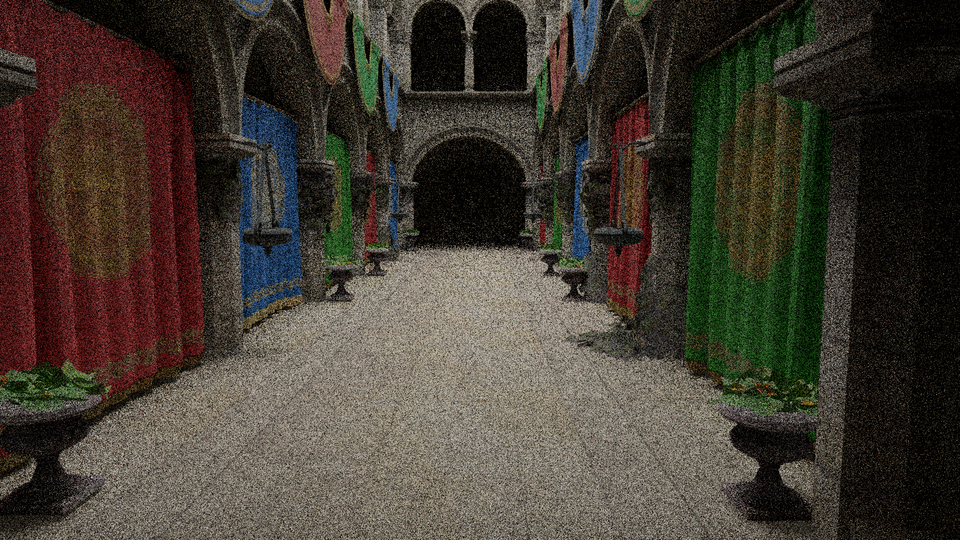
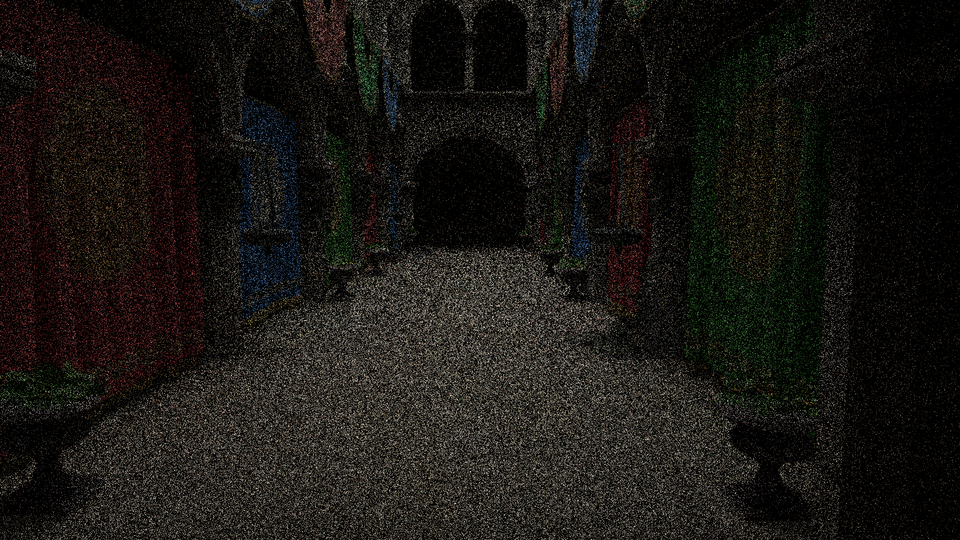
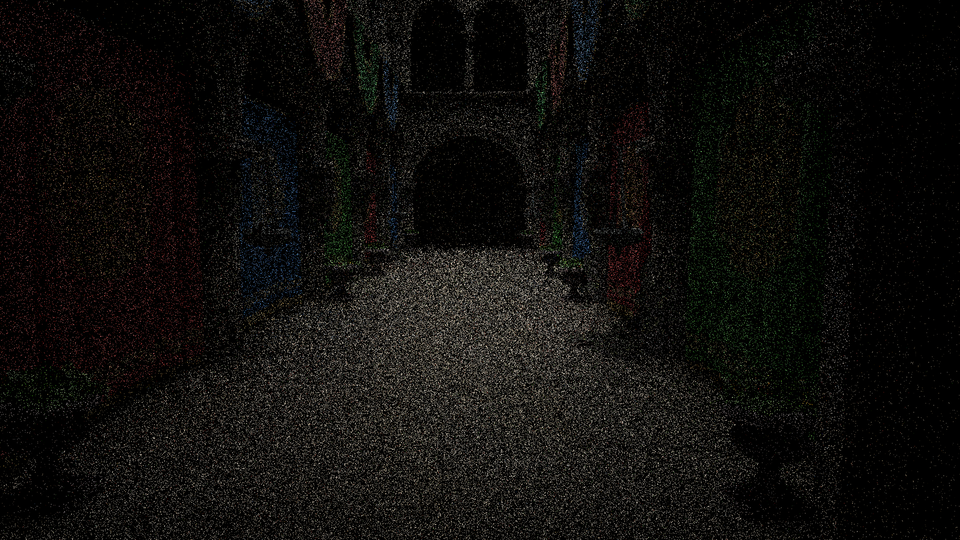
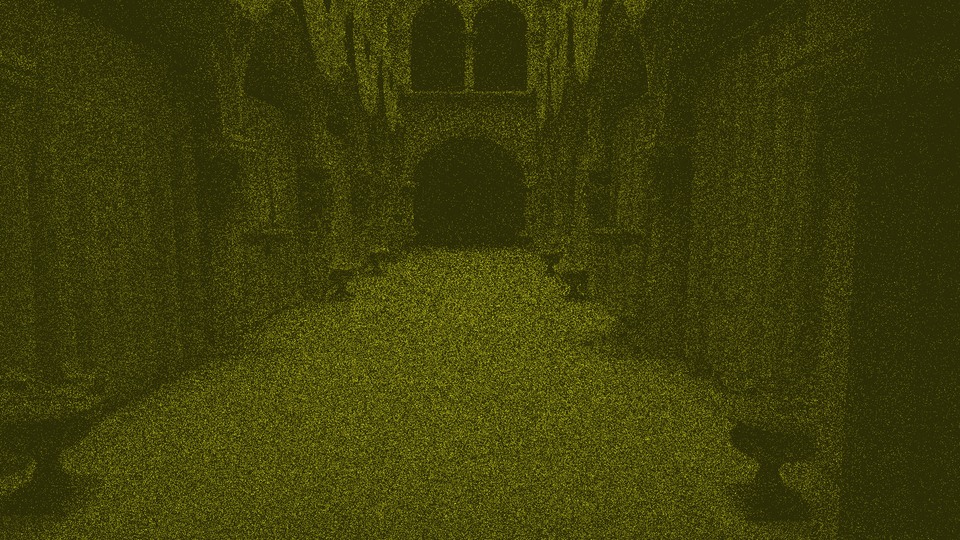
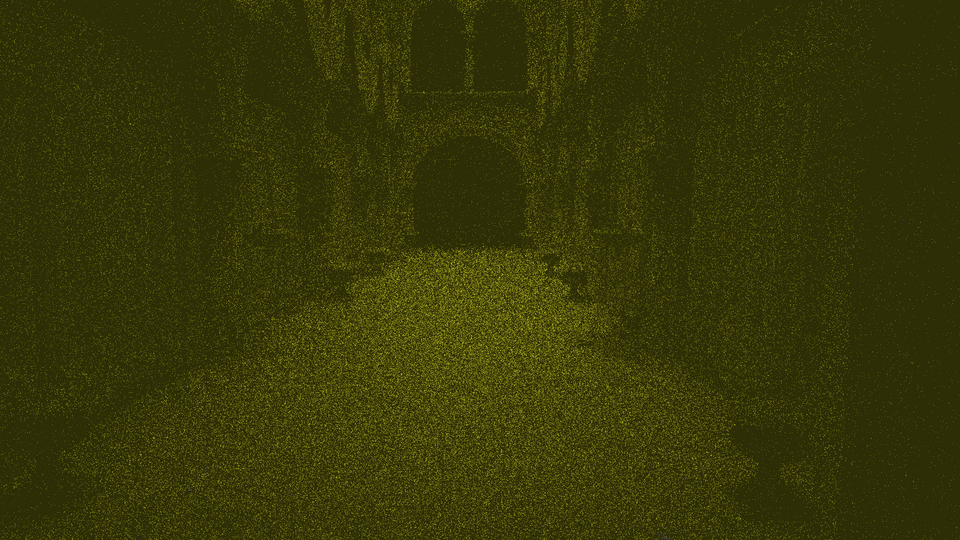
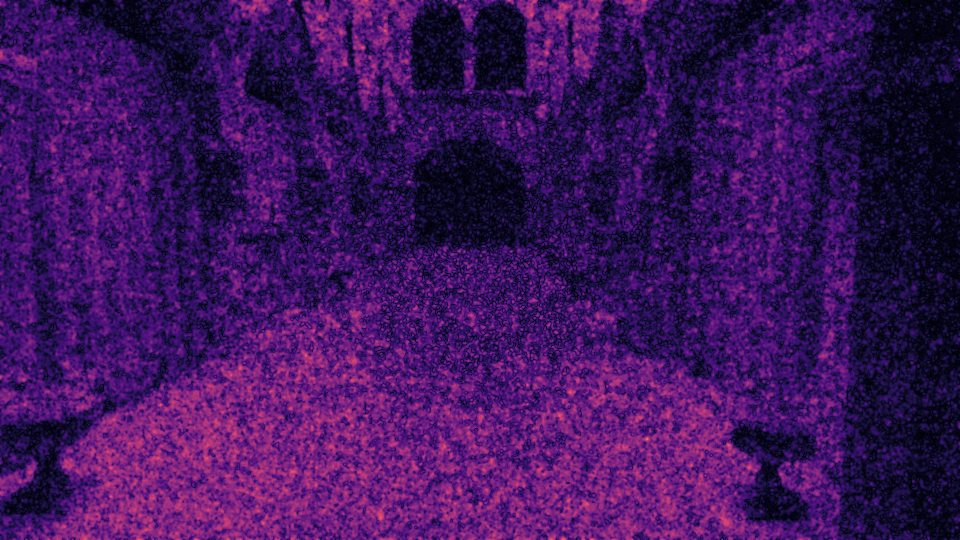
For instance, here is a heatmap comparison between Crytek Sponza scene generated by uniform (constant 4 samples-per-pixel) path tracing (FovVideoVDP=3.8321 [JOD]) and foveated (maximum 4 samples-per-pixel and minimum 1 sample-per-pixel with different degradation strategies) path tracing (FovVideoVDP=3.4431 [JOD]) with respect to the uniform (32 samples-per-pixel) path tracing. For foveated evaluation, use the --foveated command. Figure 6 is the FLIP evaluation (Mean: 0.201726, Weighted median: 0.263627, 1st weighted quartile: 0.182165, 3rd weighted quartile: 0.353026, Min: 0.001038, Max: 0.703269) between the uniform (4 samples-per-pixel) and foveated (max 4 samples-per-pixel) heatmaps (uniform, fig 4 and foveated, fig 5) generated by FovVideoVDP.
 |  |  |
 |  |  |
 |
Figure 1. Foveated Path Tracing Evaluation.
p.s., FovVideoVDP also can perform batch evaluation, for instance fvvdp --ref "ref/*.png" --test "test/*.png" --display standard_fhd --heatmap supra-threshold --output-dir out/